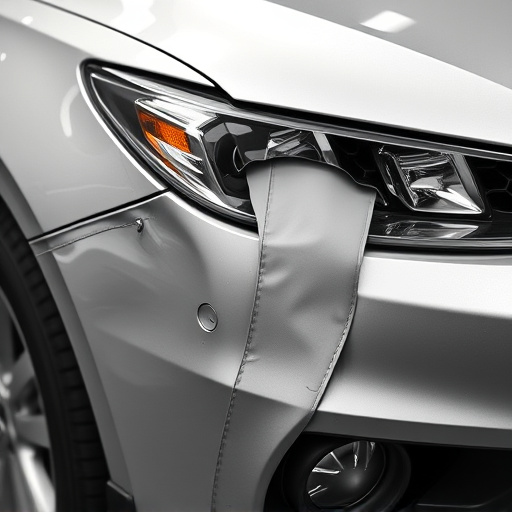

Tesla's Enhanced Autopilot (EAA) relies on cameras, radars, and ultrasonics for perception and interpretation of surroundings, offering advanced driver assistance. Regular camera recalibration is vital for optimal EAA performance, ensuring consistent data capture under varying conditions. Body shop services like repair and dent removal support accurate camera placement, enhancing safety features such as lane keeping, automatic emergency braking, and traffic-aware cruise control. After calibrating, verify system performance through a step-by-step guide, including testing lane positioning, speed adjustments, and lane changes. Regular maintenance is crucial for keeping these sophisticated features in peak condition, ensuring a safer driving experience via Tesla Enhanced Autopilot verification.
Tesla’s Enhanced Autopilot (EA) system has undergone significant improvements, particularly after camera recalibration. This update is crucial for maintaining optimal performance and safety. Camera recalibration ensures precise detection and tracking of road signs, obstacles, and other vehicles, enhancing the overall capabilities of EA. This article delves into the mechanics of Tesla’s enhanced autopilot, highlights the importance of camera recalibration, and provides a step-by-step guide to verifying autopilot functionality post-recalibration.
- Understanding Tesla's Enhanced Autopilot System and Its Components
- The Role of Camera Recalibration in Autopilot Performance
- Verifying Autopilot Functionality After Camera Calibration: A Step-by-Step Guide
Understanding Tesla's Enhanced Autopilot System and Its Components
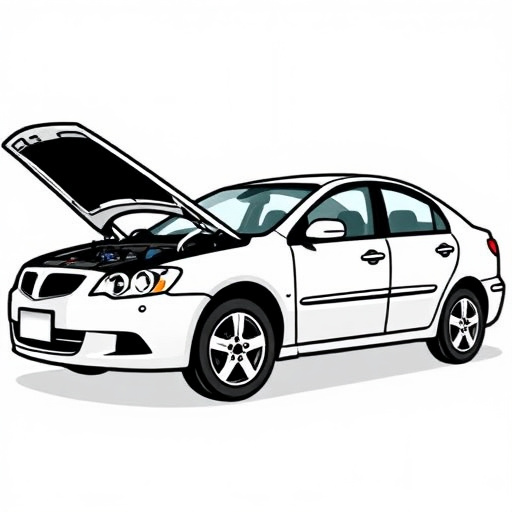
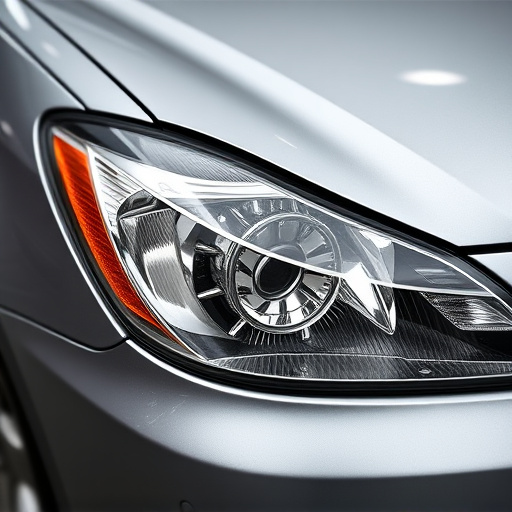
Tesla’s Enhanced Autopilot (EAA) system is a sophisticated driver-assistance feature designed to improve safety and convenience on the road. It relies on a network of sensors, including cameras, radars, and ultrasonics, to perceive and interpret the surroundings. The EAA constantly monitors the driver’s attention, providing lane keeping, adaptive cruise control, and automatic steering when activated. This advanced technology is a key differentiator for Tesla vehicles, offering an unparalleled level of autonomous driving.
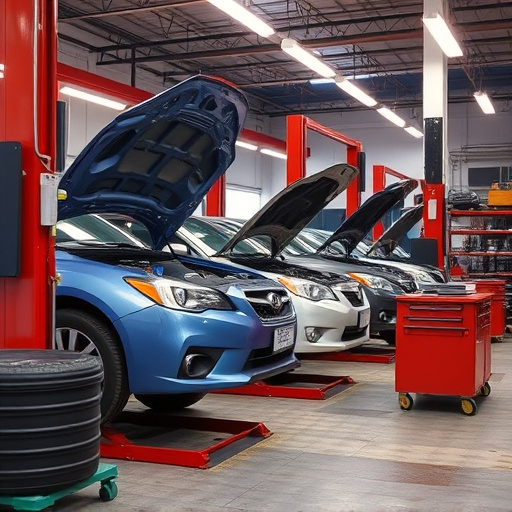
The system’s components work in harmony to ensure accurate and reliable performance. Camera recalibration plays a crucial role in maintaining this harmony. Regular calibration ensures that the cameras capture consistent and precise data, enhancing the EAA’s ability to verify and react to road conditions. This process is essential for optimal vehicle repair and auto maintenance, as it allows the system to function at its highest level, even when faced with varying weather conditions or tire services requirements.
The Role of Camera Recalibration in Autopilot Performance
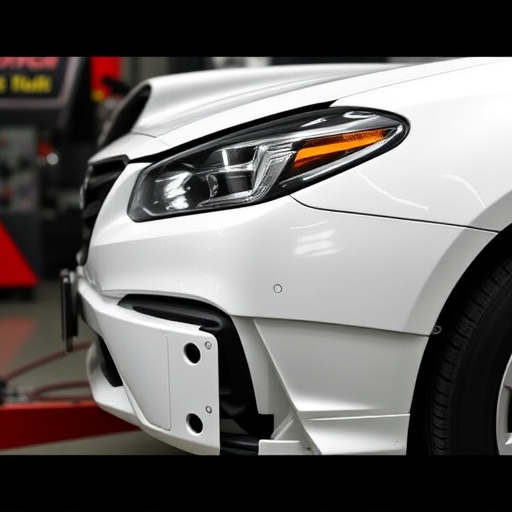
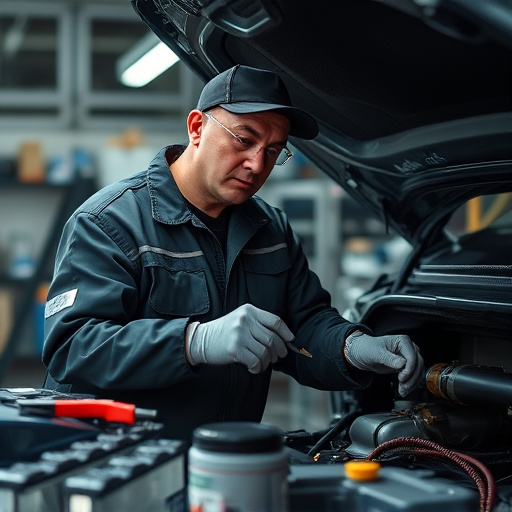
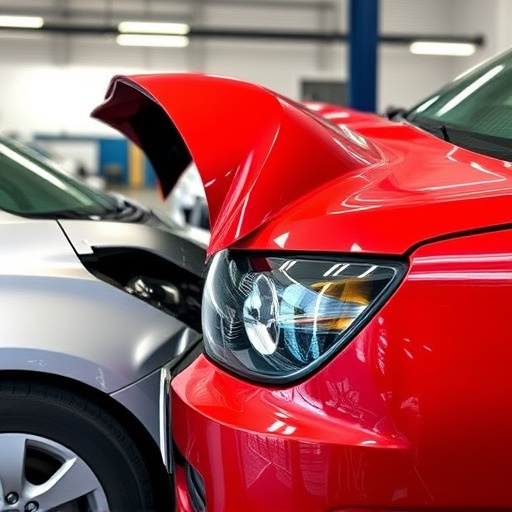
Camera recalibration plays a vital role in enhancing the performance of Tesla’s Enhanced Autopilot system. This process ensures that the vehicle’s cameras are accurately aligned, providing clear and precise data for the Autopilot software to make informed decisions on the road. By recalibrating the cameras, Tesla aims to improve safety features like lane keeping, automatic emergency braking, and traffic-aware cruise control.
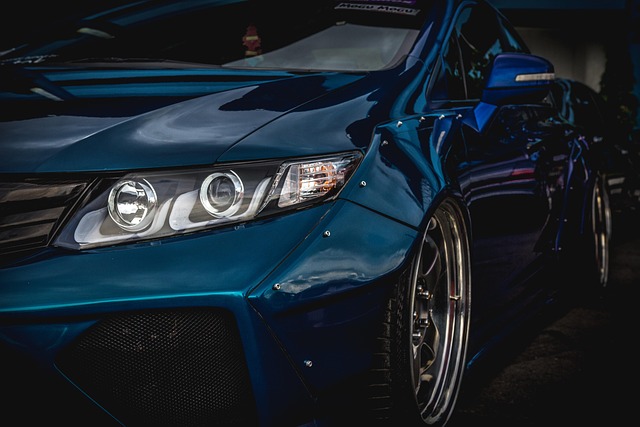
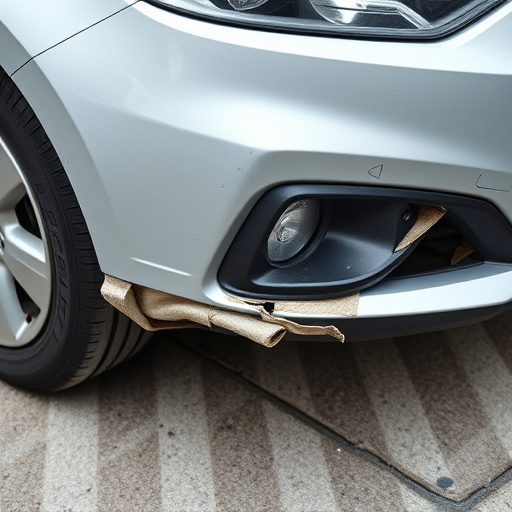
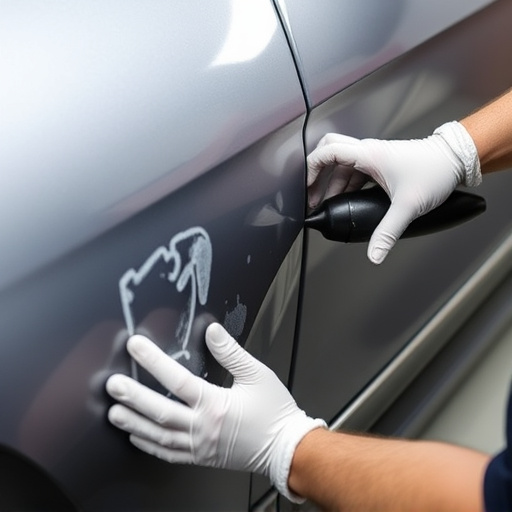
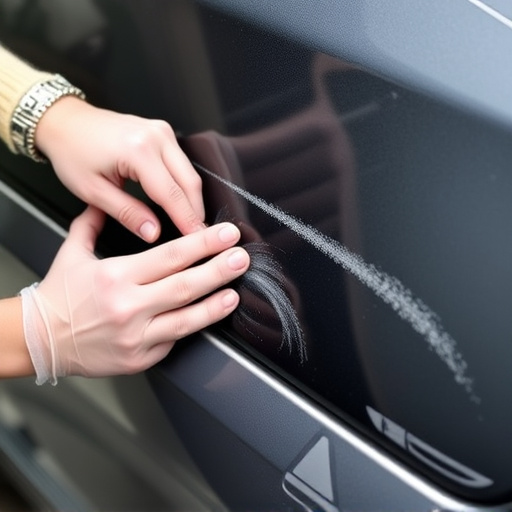
Regular body shop services, including car body repair and auto dent repair, might also contribute indirectly to optimal Autopilot performance. When a vehicle undergoes such services, mechanics often inspect and adjust camera placements, ensuring they meet Tesla’s specifications for seamless integration with the Autopilot system. This attention to detail can lead to better recalibration, ultimately refining the overall driving experience and passenger safety.
Verifying Autopilot Functionality After Camera Calibration: A Step-by-Step Guide
After calibrating your Tesla’s cameras for enhanced Autopilot functionality, it’s crucial to verify that all systems are working optimally. Here’s a step-by-step guide to ensure you’re covered:
1. Initiate Autopilot: Start by engaging Autopilot mode while driving at a suitable speed on a clear road. This will activate the system, allowing you to experience its capabilities firsthand.
2. Monitor Lane Positioning: Check if your Tesla maintains its lane position without any intervention from you. The ideal scenario is for the car to subtly steer and adjust as needed, demonstrating accurate lane keeping.
3. Evaluate Speed Adjustment: Observe how the vehicle adjusts its speed based on traffic conditions ahead. It should seamlessly slow down or accelerate to match the flow of traffic, showcasing adaptive cruise control functionality.
4. Test Lane Changes: Try changing lanes by signalling and activating the turn signal. The car should smoothly transition into the new lane while maintaining appropriate spacing from surrounding vehicles.
5. Confirm Camera Operation: Throughout these steps, pay attention to any visual cues or notifications on your dashboard that indicate camera operation. Ensure no errors or warnings appear, indicating a successful recalibration.
By following these steps, you can ensure that your Tesla’s enhanced Autopilot verification process is comprehensive, allowing you to confidently rely on the vehicle’s advanced driver-assistance systems—all while enjoying a safer and more relaxed driving experience. Remember, regular maintenance, including car bodywork services and auto frame repair, is vital to keeping these sophisticated features in peak condition.
After exploring Tesla’s enhanced Autopilot system, its components, and the critical role of camera recalibration, it’s clear that proper verification of Autopilot functionality is essential for safe driving. By following a structured step-by-step guide, owners can ensure their Tesla’s Autopilot performs optimally after any camera recalibration, enhancing their driving experience while prioritizing safety on the road.